ASIC Miner ICERIVER KAS KS0 Profitability In the realm of cryptocurrency mining, the Iceriver KAS KS0 miner has garnered widespread attention. Tailored specifically for the Kaspa network's KHeavyHash algorithm, it boasts high hashing power and low power consumption, making it an ideal choice for many miners. In this article, we will comprehensively assess IceRiver KS0 profitability while considering the Kaspa market conditions and the attributes of KS0 miner. Kaspa Market Dynamics Kaspa is a vibrant cryptocurrency network aimed at delivering high performance and scalability for everyday transactions. At the time of writing this article, the Kaspa coin trades at approximately $0.04959. But it's essential to note that cryptocurrency markets are highly susceptible to price volatility. Hence, investors must remain vigilant about market dynamics. Additionally, the Kaspa network's mining difficulty and reward mechanisms play a role in mining returns. Attributes of the IceRiver KS...
Avalon A6 Miner Mining Tutorial
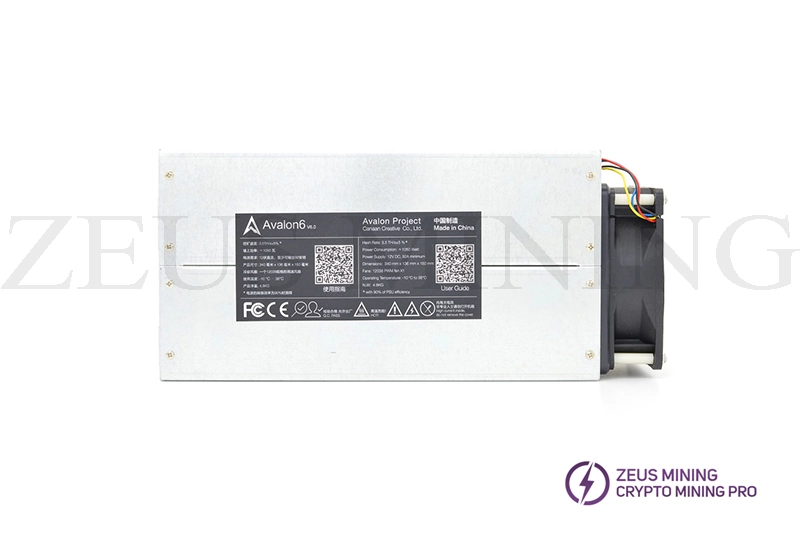
This tutorial will demonstrate the setup of an Avalon A6 (3.5TH @ 1050w) Bitcoin miner.
Miner specifications
Brand | Avalon 6.0 |
Model | 3.5 TH/s @ 1050w |
Hash Rate | 3.5 TH/s ± 10% |
Power Consumption | 1050W ± 5% |
Chip | 28nm A3218 |
6pin Connectors | 4 |
Accessory | Raspberry Pi + AUC controller |
PSU | NO built-in PSU |
Ready to work
· Prepare a PSU (>= 1200w and 6pin x 4);
· For miner configuration, use an ethernet cable to connect the miner and PC to the same router.
· Note: You can use multiple PSUs to connect to one miner. But don't connect 1 PSU to more than 1 miner.
Miner connection
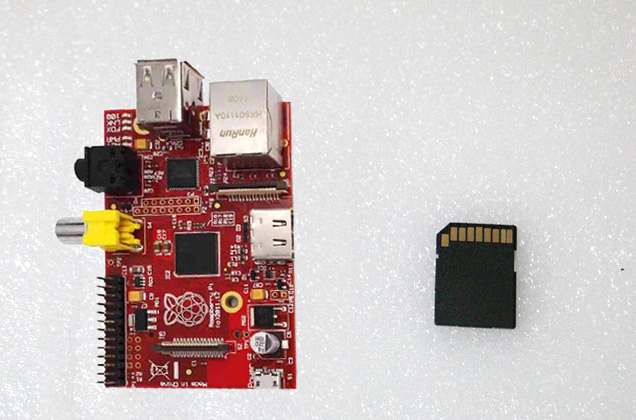
· First, prepare the necessary accessories such as Raspberry Pi, AUC3 data cable, sd card with a mining system, AUC3 converter card, two USB cables, and Raspberry Pi power supply.
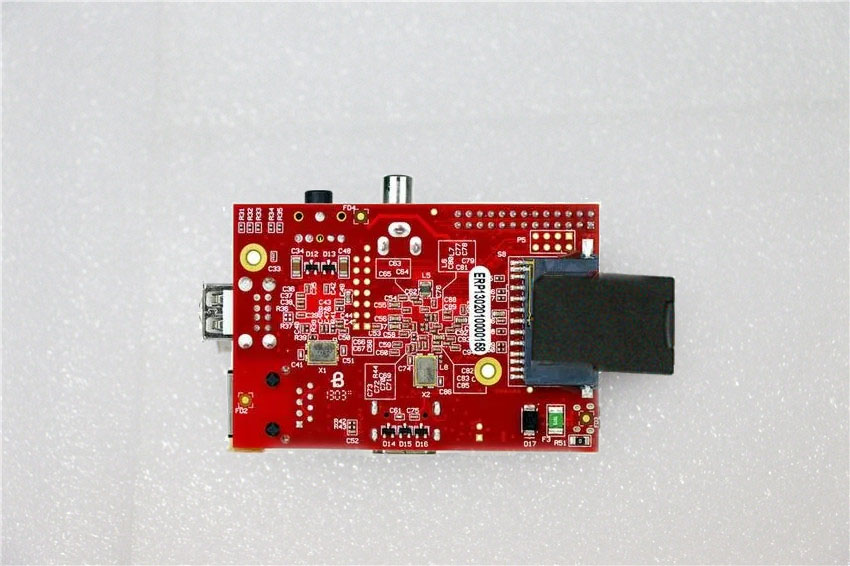
· Insert the SD card into the Raspberry Pi.
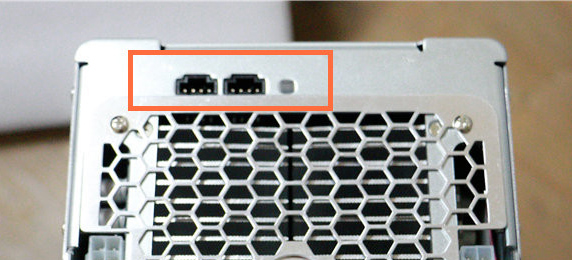
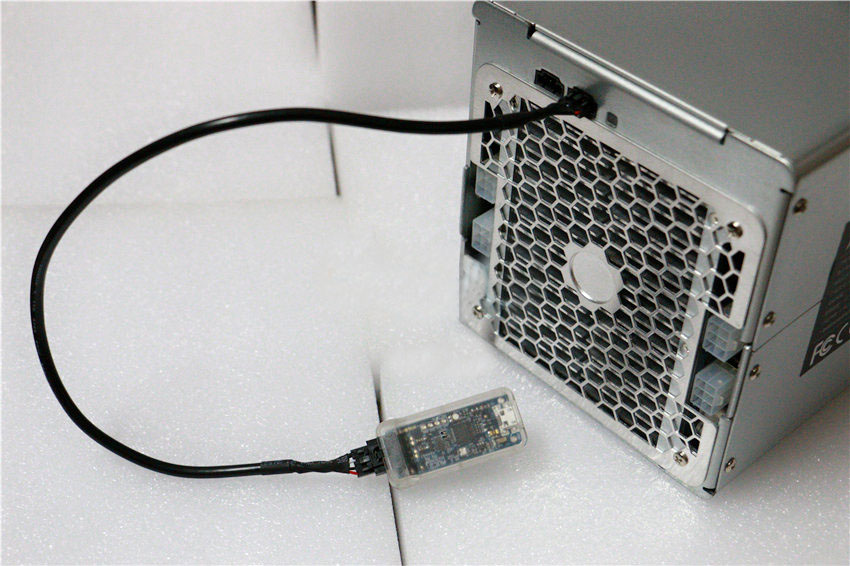
· We can see two connection ports on the AUC3 converter card. One end is connected to the Raspberry Pi, and the other is connected to the miner.
· There are two AUC connection ports on the miner. Just choose one of them.
· What it looks like when connected.
· Then, connect the AUC3 converter card to the Raspberry Pi.
There are two USB ports on the Raspberry Pi; you can choose one of them.
· Connect the Raspberry Pi to the AUC3 converter card using one of the USB cables.
· Then, connect the Raspberry Pi to the router using an Ethernet cable.
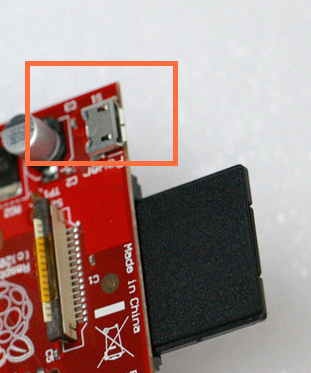
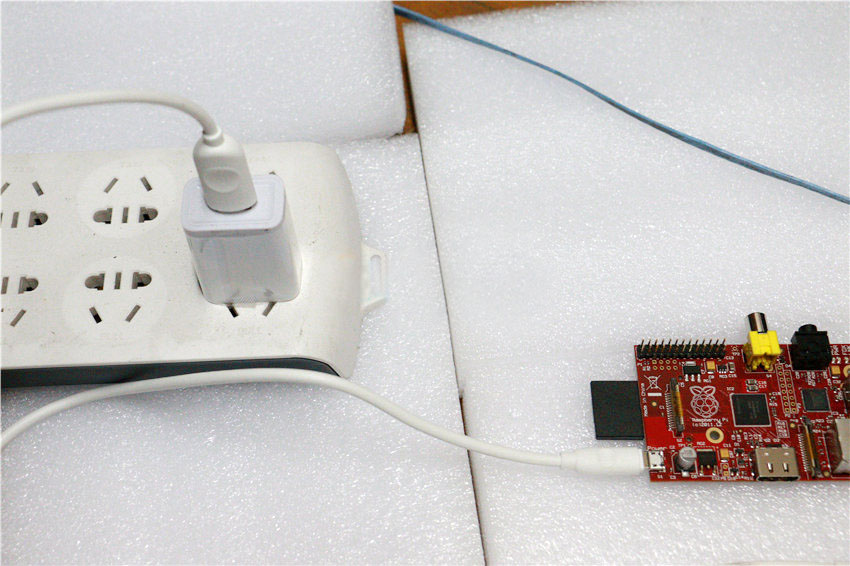
· Connect the Raspberry Pi power supply: A mini-USB port on the Raspberry Pi can be connected to the power supply with a USB cable.
· Power up the Raspberry Pi.
· Connect the four 6pin ports on the PSU to the miner.
· The connection is complete.
Mining guide
In this section, we will demonstrate the configuration of the miner.
· Turn on the miner, then turn on the Raspberry Pi.
· Wait about 1~7 minutes to complete the initialization of the miner.
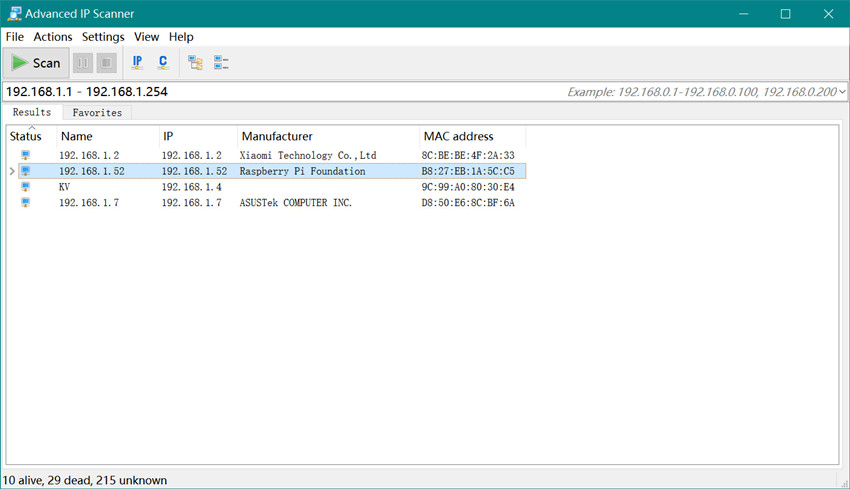
· Scan your miner IP address with IP scanning software. Reference article How to use IP Reporter?
· In our test, if we scan the IP right after the miner is powered on, the IP will be "192.168.1.100". But this is not the last IP of the miner. Scanning the IP 5-7 minutes after the miner is powered on is recommended.
· The miner's IP scanned by IP reporter is "192.168.1.52", and the "Manufacturer" is displayed as "Raspberry Pi Foundation."
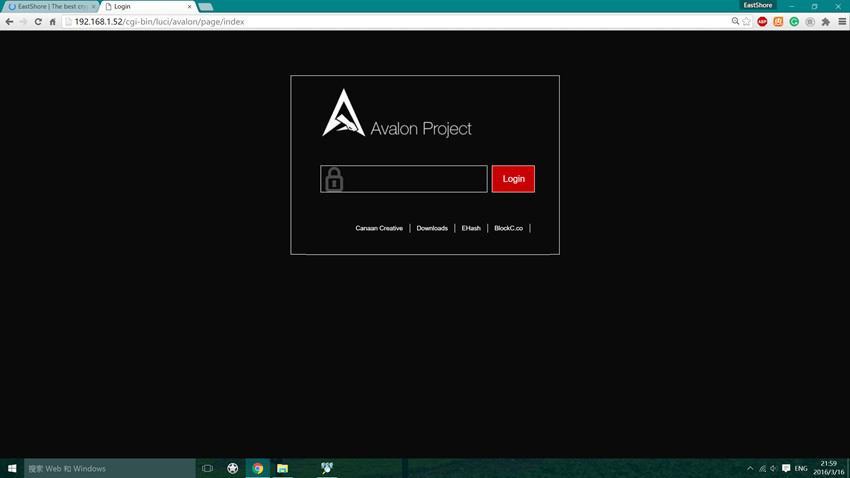
· Open the IP you just scanned with your browser.
· Avalon miners do not have a password; just click the "Login" button.
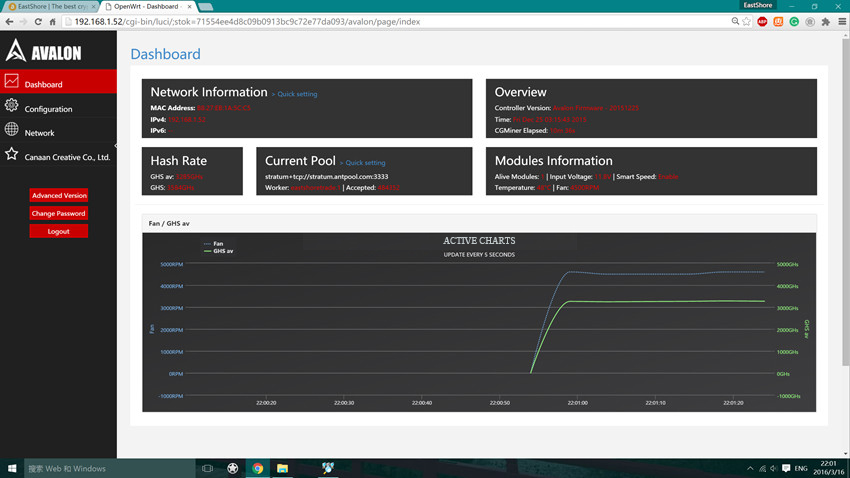
· You will then see the miner's "dashboard."
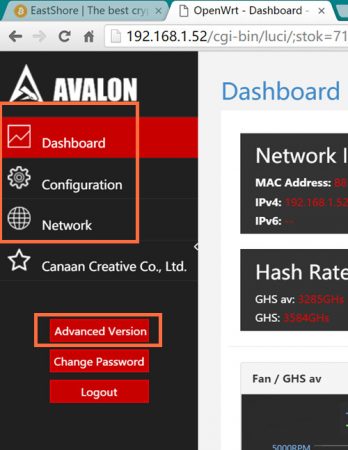
· The left side is the central command of the miner configuration.
· Click "Configure" to configure your mining account. You should configure all three "Pool URLs" and "Pool workers."
· After the configuration is complete, click "Save & Apply" to save the changes, wait a few seconds until the changes are applied, and it will automatically start mining.
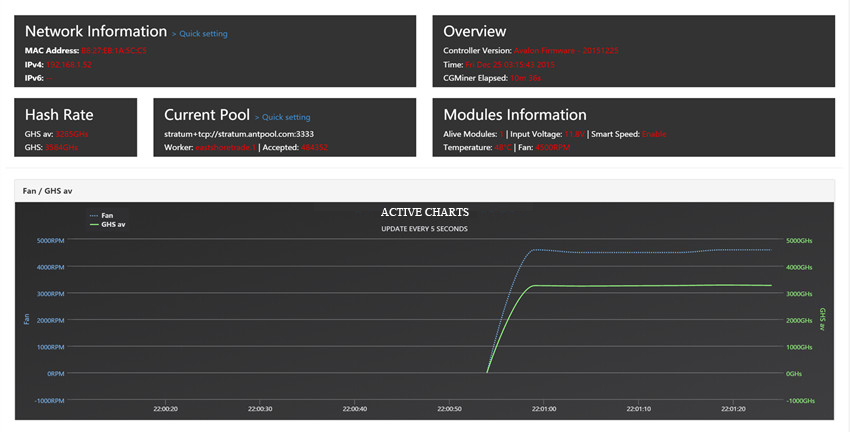
· Navigate to Dashboard to monitor performance. Mining information such as mining speed, fan speed, and activity graphs are displayed here.
· Advanced version: More mining information will be displayed in the "advanced version" of the dashboard. Click on the "Advanced" command on the left side of the dashboard page, and you will get the premium version of the dashboard.
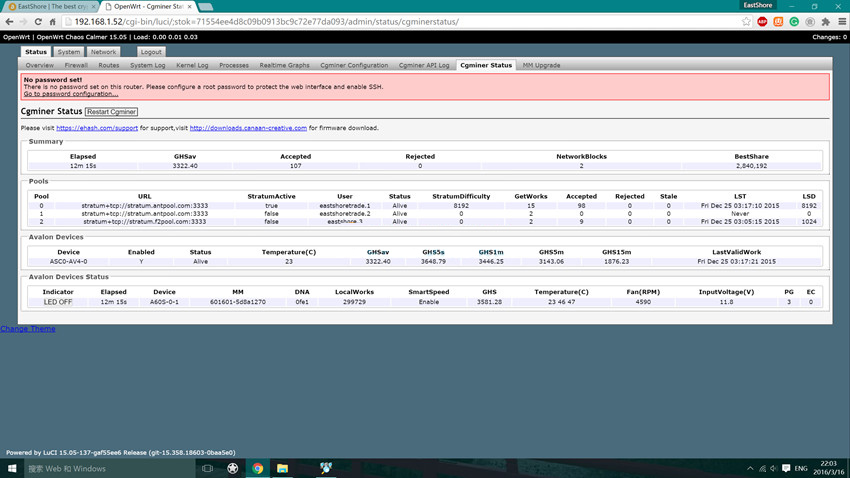
· Navigate to "Status –> Cgminer Status," more detailed mining information will be displayed.
· Advanced settings: There are more advanced settings here; you can set the "minimum fan %" or upgrade the miner firmware. But if your miner is working well, this kind of setup is not recommended.
· Click the "Change Theme" link in the lower-left corner of any page of the advanced version to return to the previous simple miner dashboard.
· All configurations are completed!










Comments
Post a Comment
Tell us your opinion