ASIC Miner ICERIVER KAS KS0 Profitability In the realm of cryptocurrency mining, the Iceriver KAS KS0 miner has garnered widespread attention. Tailored specifically for the Kaspa network's KHeavyHash algorithm, it boasts high hashing power and low power consumption, making it an ideal choice for many miners. In this article, we will comprehensively assess IceRiver KS0 profitability while considering the Kaspa market conditions and the attributes of KS0 miner. Kaspa Market Dynamics Kaspa is a vibrant cryptocurrency network aimed at delivering high performance and scalability for everyday transactions. At the time of writing this article, the Kaspa coin trades at approximately $0.04959. But it's essential to note that cryptocurrency markets are highly susceptible to price volatility. Hence, investors must remain vigilant about market dynamics. Additionally, the Kaspa network's mining difficulty and reward mechanisms play a role in mining returns. Attributes of the IceRiver KS...
Antminer S7-LN 697w Bitcoin Miner Mining Tutorial
Antminer S7-LN 2.7TH Bitcoin Miner is a new submodel of Antminer S7. This sub-model of Ant S7 comes with 1000w PSU, and customers do not need to prepare PSU by themselves. Another notable feature of the Antminer S7-LN miner is tranquil.This tutorial will demonstrate the setup of the Antminer S7-LN 2.7TH Bitcoin Miner.
Miner specifications
Brand | Antminer S7-LN |
Hash Rate | 2.7 TH/s ± 5% |
Power Consumption | 697W ± 10% |
Cooling | 2 * 12038 fan |
Network Connection | Ethernet |
PSU | With PSU, plug & play |
Ready to work
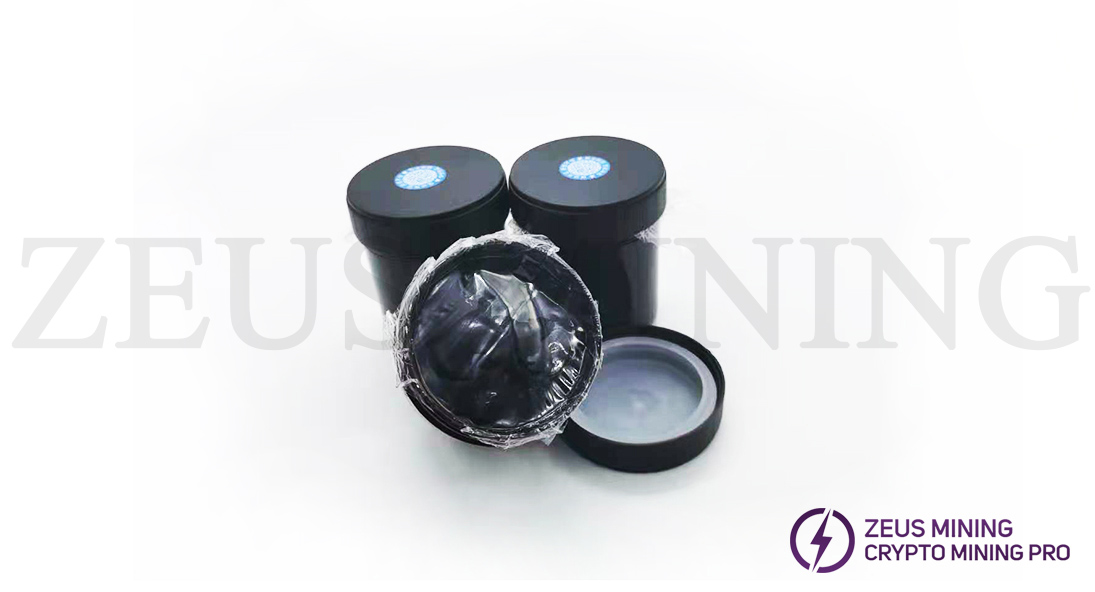
· When you first receive the miner, before powering on, please check if any heat sinks have loosened or fallen off during transportation.· If any heatsinks come off, please purchase thermosetting adhesive to fix the heatsinks. Do not power on the miner until the dropped radiator has been repaired

· Connect the miner to the router with an ethernet cable.
· For miner configuration, use an ethernet cable to connect the miner to the same router that your PC is also connected to (your PC is only used for miner configuration).
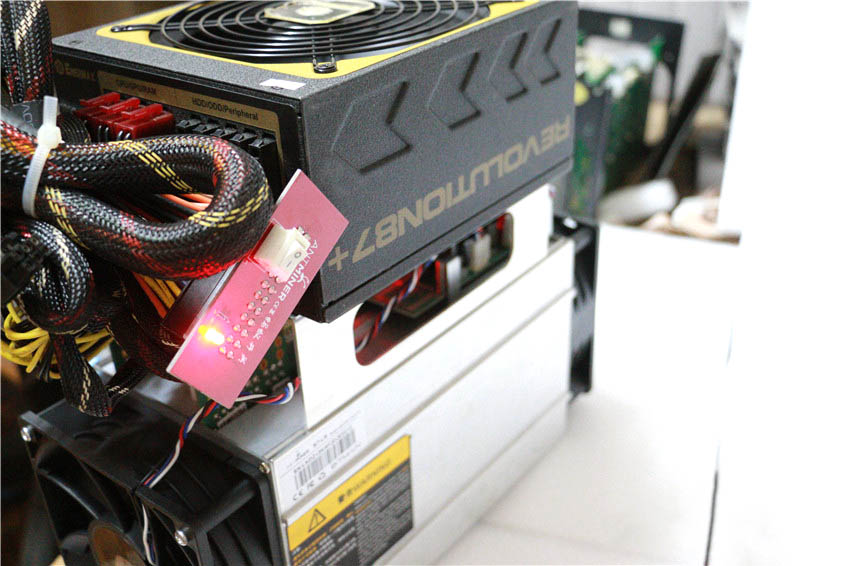
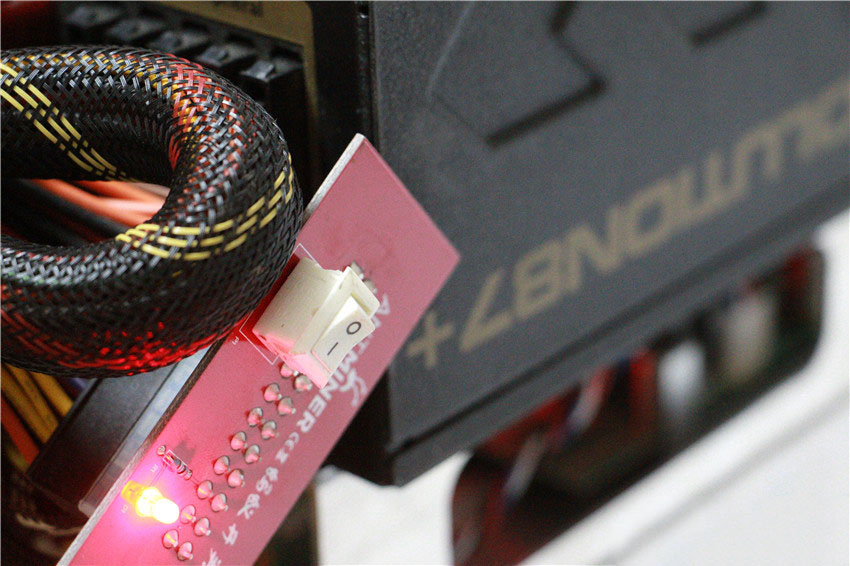
·Pay attention to the switch of the miner. The miner has two switches, as shown in the picture below. One of the switches is on the red power distribution board and the other is on the PSU.
· For miner configuration, use an ethernet cable to connect the miner to the same router that your PC is also connected to (your PC is only used for miner configuration).
Miner connection
The mining configuration of Antminer S7 2.7TH is similar to Antminer S7. Here we just briefly demonstrate the miner connection.·Pay attention to the switch of the miner. The miner has two switches, as shown in the picture below. One of the switches is on the red power distribution board and the other is on the PSU.
· Please make sure to turn on both switches when starting the miner. (Both switches are on in the picture below)
Follow this setup tutorial, and you'll be up and running in minutes.
The content and pictures of this article are from the Internet, compiled and edited by ZEUS MINING.
Mining Guide
Please refer to Antminer S7 mining guide: Antminer S7 Manual.Follow this setup tutorial, and you'll be up and running in minutes.
The content and pictures of this article are from the Internet, compiled and edited by ZEUS MINING.


Comments
Post a Comment
Tell us your opinion